How to Prepare Your Home for a Professional Painting Project
August 28, 2025
Choosing Interior Paint Finish: A Complete Guide for Your Home
September 19, 2025A fresh coat of paint can transform a space. Done well, it makes a room feel brighter, cleaner, and more polished. But if you’ve ever tried to tackle a painting project yourself, you know it’s easy for small mistakes to add up. Drips on the trim, streaky walls, or paint bleeding under the tape are all too common, and they can leave you frustrated instead of proud.
The good news? Most of these issues are easy to prevent once you know what to watch out for. Here are some of the most common painting mistakes homeowners make, and simple ways to avoid them so your next project goes smoothly.
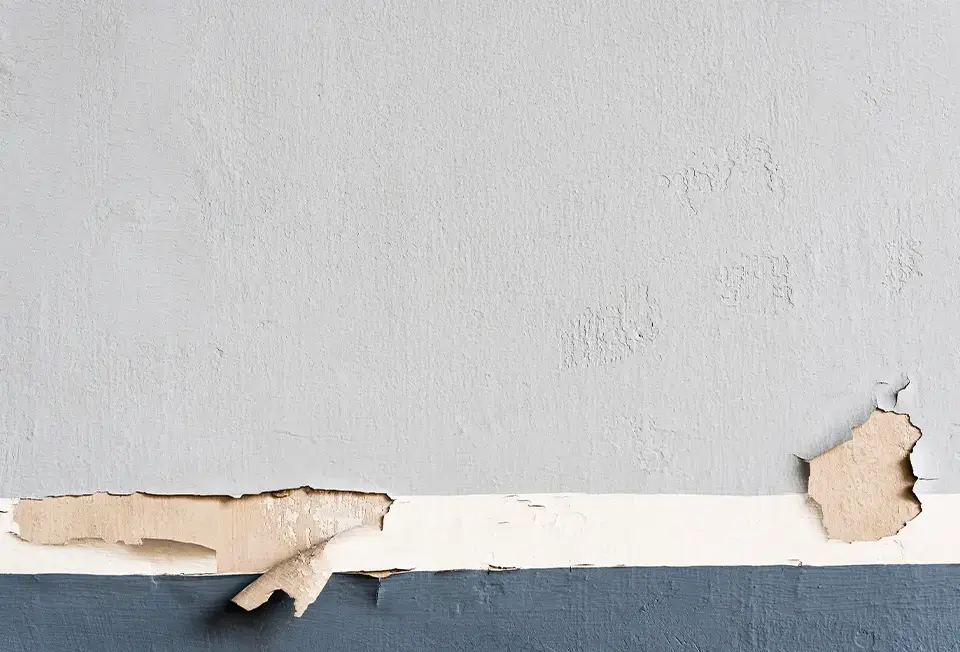
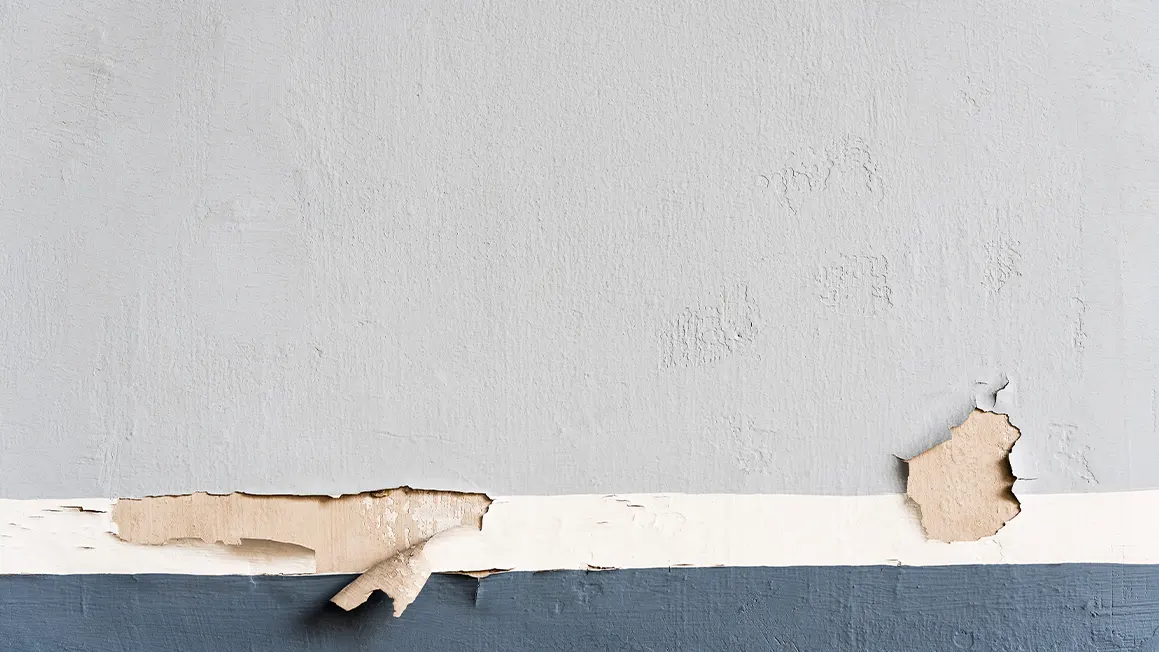
1. Skipping Prep Work
It might not be the fun part, but skipping prep is one of the biggest reasons a paint job looks unprofessional. Dusty walls, unpatched holes, or dirty baseboards all interfere with how paint sticks and dries. Even if you’re in a hurry, rushing into painting without cleaning and patching first will cost you more time later.
How to avoid it: Take time to wash the walls, sand rough areas, and fill cracks or nail holes. Wipe surfaces down so the paint can stick evenly. Tape off trim and cover the floor with drop cloths. Ten minutes of prep often saves hours of fixing mistakes later.
2. Using Cheap or Wrong Tools
A $2 brush or the wrong roller nap can ruin a paint job. Low-quality brushes shed bristles and leave streaks. Using a roller that’s too smooth on a textured wall means poor coverage, while using one that’s too thick on a smooth wall leaves fuzz and heavy texture.
How to avoid it: Invest in decent brushes and rollers. For smooth walls, choose a short nap. For textured walls or ceilings, use a longer nap to grab more paint. With the right tools, the work goes faster and looks better.
3. Drips, Runs, and Streaks
Drips happen when too much paint is loaded onto your brush or roller. Streaks come from not having enough paint or applying uneven pressure. Both leave you with walls that look sloppy and uneven.
How to avoid it: Dip your brush only a third of the way into the paint and wipe off excess. Roll in a “W” or “M” shape to distribute paint evenly, then fill in. Keep a wet edge and resist over-brushing once the paint starts to dry.
Quick fix if it happens: If you notice drips after they’ve dried, scrape them off, sand smooth, and repaint the area.
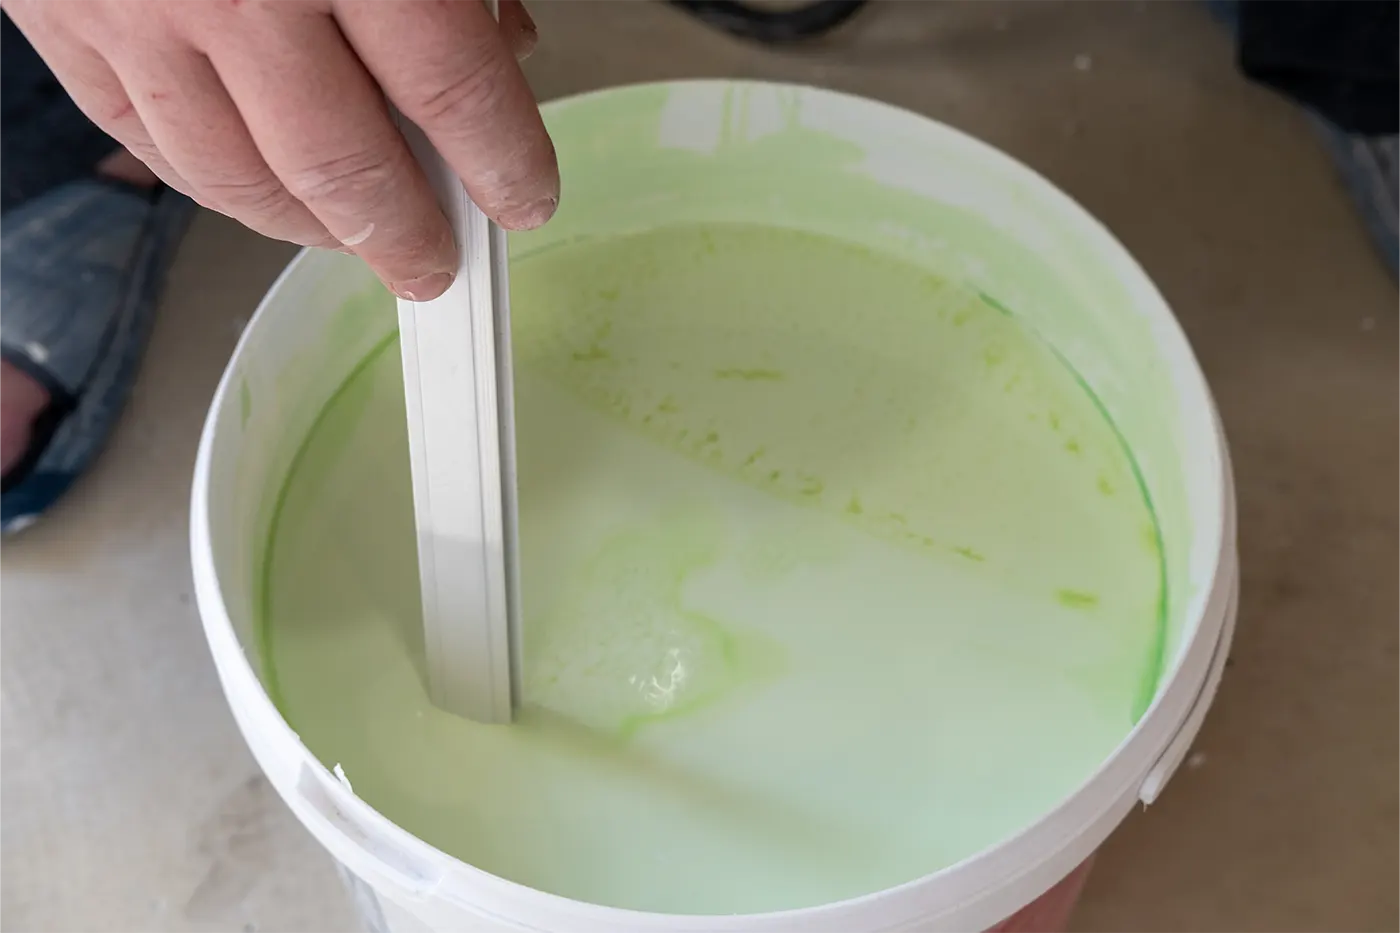
4. Forgetting to Mix Paint Thoroughly
Paint naturally separates in the can. If you don’t stir it well, the colour can look uneven once it’s on the wall; patchy, blotchy, or slightly different from wall to wall.
How to avoid it: Stir paint thoroughly before you start, and give it a quick stir every so often while working. If you need more than one gallon, pour them all into a larger bucket and mix together (called “boxing”) to guarantee colour consistency.
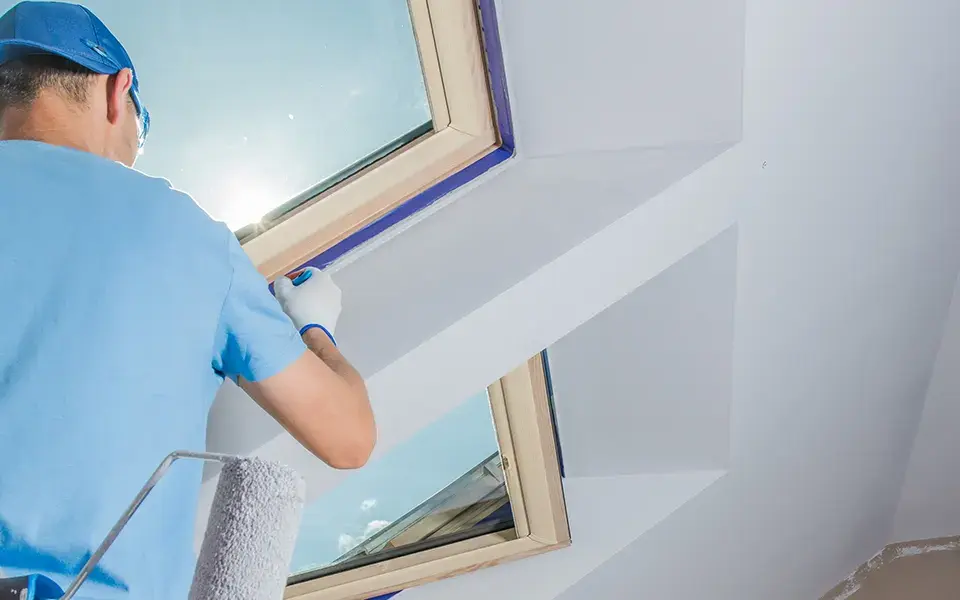
5. Crooked Edges and Bleeding Tape
Painter’s tape is supposed to make clean edges easy. But if it isn’t pressed down firmly, paint can bleed underneath. And if you leave the tape on too long, it can peel off dried paint along with itself.
How to avoid it: Press tape edges down firmly with a putty knife. Remove the tape while the paint is still slightly tacky within an hour or so. For small touch-ups, use an angled brush and steady hand rather than relying on tape for everything.
6. Painting in the Wrong Conditions
Temperature and humidity affect how paint dries. Paint that dries too quickly in high heat can leave lap marks. Paint applied in damp or humid conditions can bubble, blister, or fail to cure properly.
How to avoid it: Check the label on your paint can for recommended conditions, but generally aim for temperatures between 10°C and 30°C with moderate humidity. Indoors, open windows for ventilation but avoid overly damp or drafty conditions.
7. Rushing Between Coats
It’s tempting to slap on a second coat as soon as the first “feels” dry. But paint needs time to cure, not just dry to the touch. Painting too soon can cause peeling, streaking, or a tacky finish that never looks right.
How to avoid it: Follow the manufacturer’s recommended dry times. For most paints, that’s at least 2–4 hours between coats, sometimes longer depending on humidity. When in doubt, wait. Patience makes for smoother walls.
8. Uneven Coverage and Blotchy Walls
If you skip primer or don’t use enough paint, your walls may look patchy. Old paint colours or drywall patches can show through, and the finish won’t look uniform.
How to avoid it: Use a primer, especially on fresh drywall or when covering dark colours. Apply paint generously but evenly, don’t stretch one can too far. A second coat almost always makes a noticeable difference in how polished the final result looks.
9. Getting Paint on the Ceiling
This one happens to nearly everyone. You’re cutting in along the top of the wall, and suddenly you’ve brushed a little onto the ceiling. It’s an easy mistake, but hard to ignore once it dries.
How to avoid it: Use a quality angled brush and work slowly near the ceiling. Hold your brush at an angle and feather the edge rather than trying to paint right up against the line in one stroke.
Quick fix if it happens: If the paint is still wet, wipe it off right away. If it’s dry, carefully touch it up with ceiling paint for a clean finish.
Refresh Your Walls
Painting can be one of the most affordable and effective ways to refresh your home. But the difference between a job you want to show off and one you regret usually comes down to avoiding these common mistakes. With the right prep, good tools, and a little patience, you’ll get smooth walls, crisp edges, and lasting results.
And if you’d rather skip the hassle altogether? That’s where we come in. At Revive Painting, we’ve helped countless Kelowna homeowners avoid these headaches and enjoy flawless finishes.
Ready to Paint Without the Stress?
Let the pros handle it. Request your free quote from Revive Painting today and enjoy a clean, professional finish without the mistakes.